
Let me begin by saying that I am scarcely worthy of the honour of writing about Xencelabs Pen Display 24. I thought, "Another graphics tablet; I can handle that." However, when the box arrived, I knew I was dealing with something a tad larger than my 1st generation iPad Pro. However, I've done my best, and hopefully, the graphic professionals will find some useful information in this review.
After I unboxed this behemoth and spent a day or two nervously reading about it, I set it up and was pleasantly surprised at how easy a process it was. I can report that yellows and oranges really pop and that the transitions are gorgeous to behold. Blacks are also, well, black! My system settings report that the refresh rate is 60Hz on the Pen Display.
Sitting in a 60cm-wide bevelled frame, it makes my 27" external monitor look rather puny. In fact, the Pen Display 24 took up more room than my workspace would allow. It is sitting in the only area large enough to fit it and my laptop, the dining room table.
Colour Settings
Whether you use Adobe RGB or Pantones, Xencelabs allows you to manage the colour settings to suit your purpose. The User Mode function enables you to set your own user mode preferences, but I was too scared to do more than gaze longingly at the inviting "Set User Mode Preferences" button and then quickly move to the other settings.
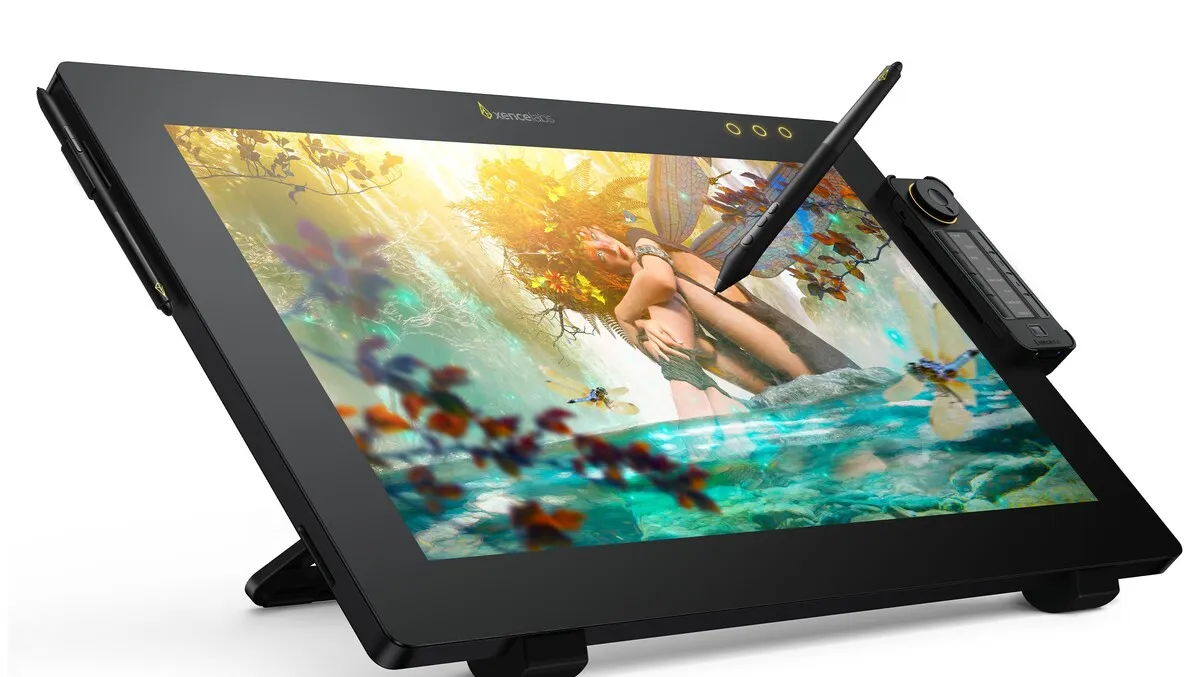
Quick Keys
Those of you who are fortunate enough to be left-handed will be delighted to read that the Quick Keys can be set up for you, placed on the left-hand side of the Pen Display 24, and then rotated so that the preference buttons are in sequence. They allow for up to five sets of Quick Key functions, allowing you to move freely from "Sketch" to "Paint" and other modes that you may require. As I write, I have set up a new set for Apple's Photos App but borrowed the quick key set already in Photoshop. You can easily spend endless hours customizing the settings to your own preferences. Xencelabs say, "The Settings Panel also has application-specific pre-sets for some popular programs such as Adobe Photoshop," and as I discovered, adding my own pre-sets was as simple as pointing to the software you are using.
The Pens
Yes, you read right, pens, a three-button pen and a thin, two-button pen. Both pens come with installed pre-sets, and they can be customised to the pressure that suits the user. The pens come with a rather nifty case, which also houses a set of nibs, a nib-changing tool, a USB to USB C adapter and a Dongle for the Quick Keys.
I am no graphic artist, but I have downloaded a trial version of Affinity Designer 2, secure in the knowledge that any of my designs will end up on the cutting room floor. Using both pens, I was quickly able to create some lovely curves.
Both pens are very pressure-responsive, and my only real problem was coming to grips with the actual graphics software, not the Xencelabs tools. I easily created a new set of Quick Keys for Affinity Designer 2, and before I knew it, I was breaking for lunch at afternoon tea-time.
Final Thoughts
My artist friend in the Blue Mountains is wishing he was here to have a play, and he would doubtless put the Pen Display 2 through its paces in an artistic and professional way. It has taken me all morning to draw part of a wheel. Despite my slow progress, I had loads of fun. I still need to get used to the two and three-button style, and I barely touched the Quick Keys apart from the occasional "undo" command.
From a layman's point of view, Xencelabs appear to be on to a winner here. The Pen Display 24 had me feeling that with a little more time, I might become the next Banksy. This is a tool for professionals, and the Xencelabs website has it priced at US$2089.